The Glover Interface
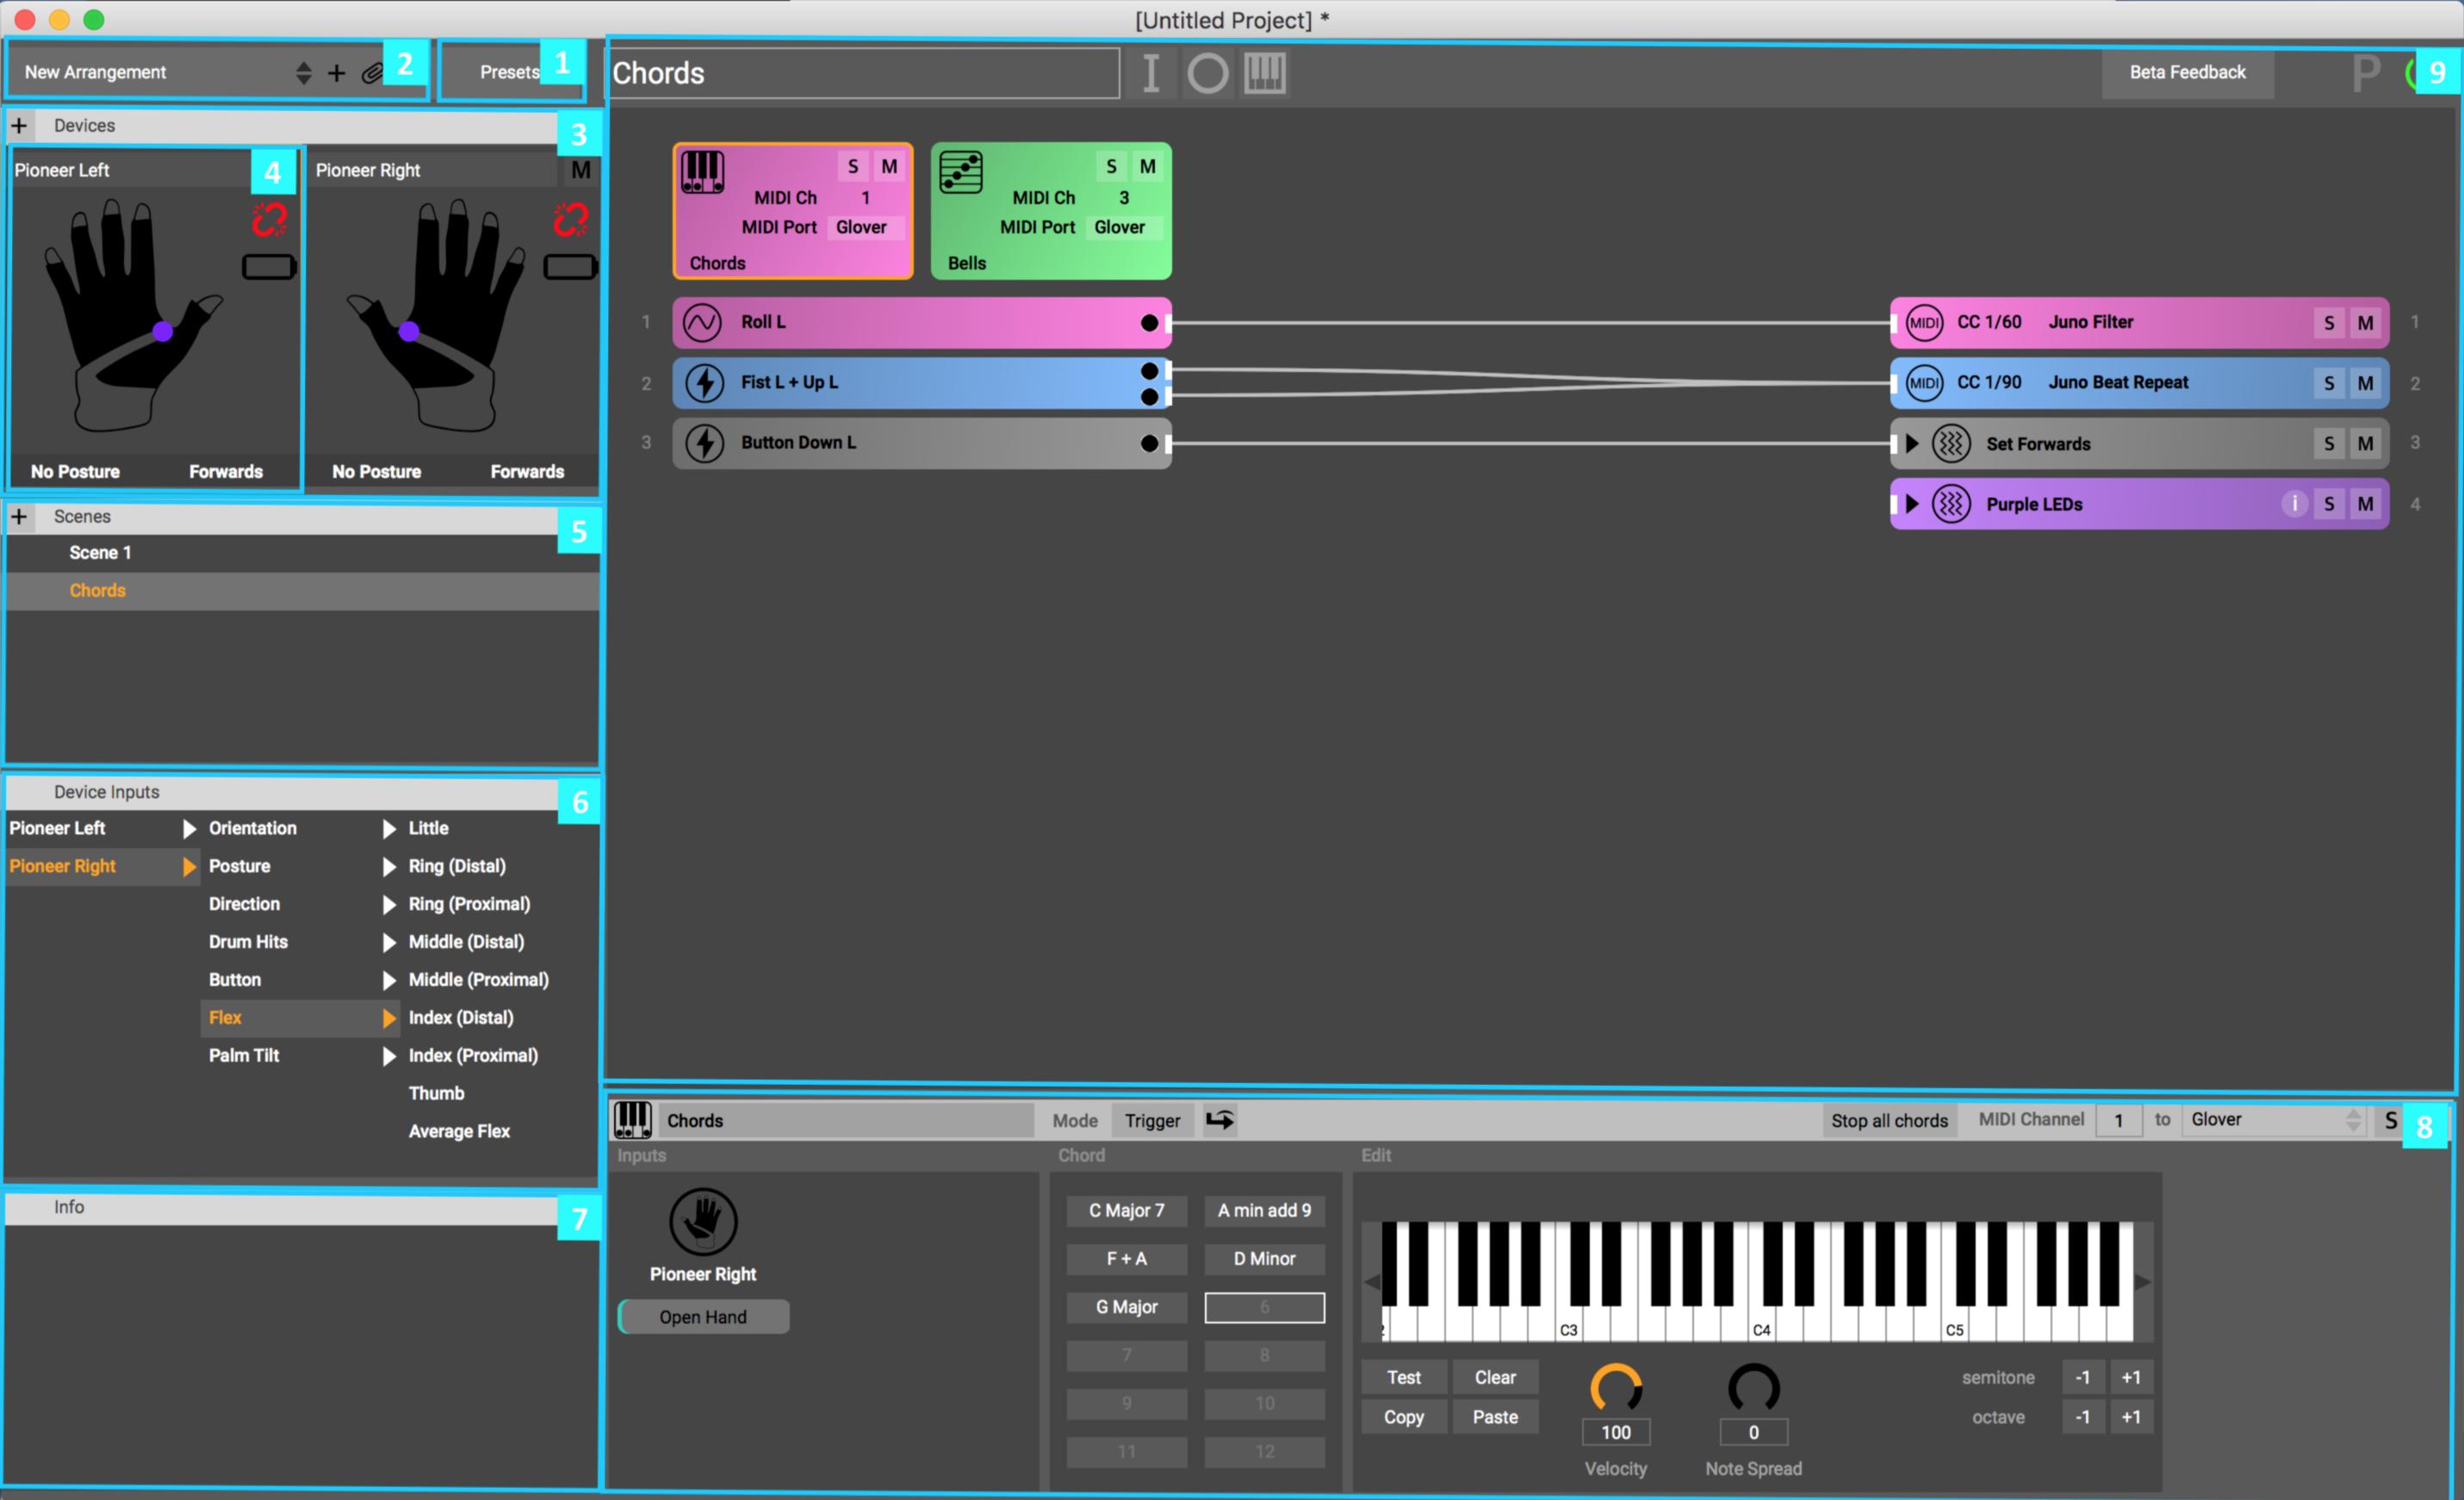
Glover's interface features nine main window panes that are highlighted in the image above. Here is a quick tour through them, starting at the top in the middle and moving counter-clockwise around the window. Pro Tip: Windows can be adjusted in size to customise your interface
1 - Preset Selection
Click this button to select and load presets.
2 - Arrangement Selection
This pane lets you create and change arrangements, as well as assign associated files.

3 - Devices Panel
Here you can see all your devices, their connection status, and other device information at a
glance.
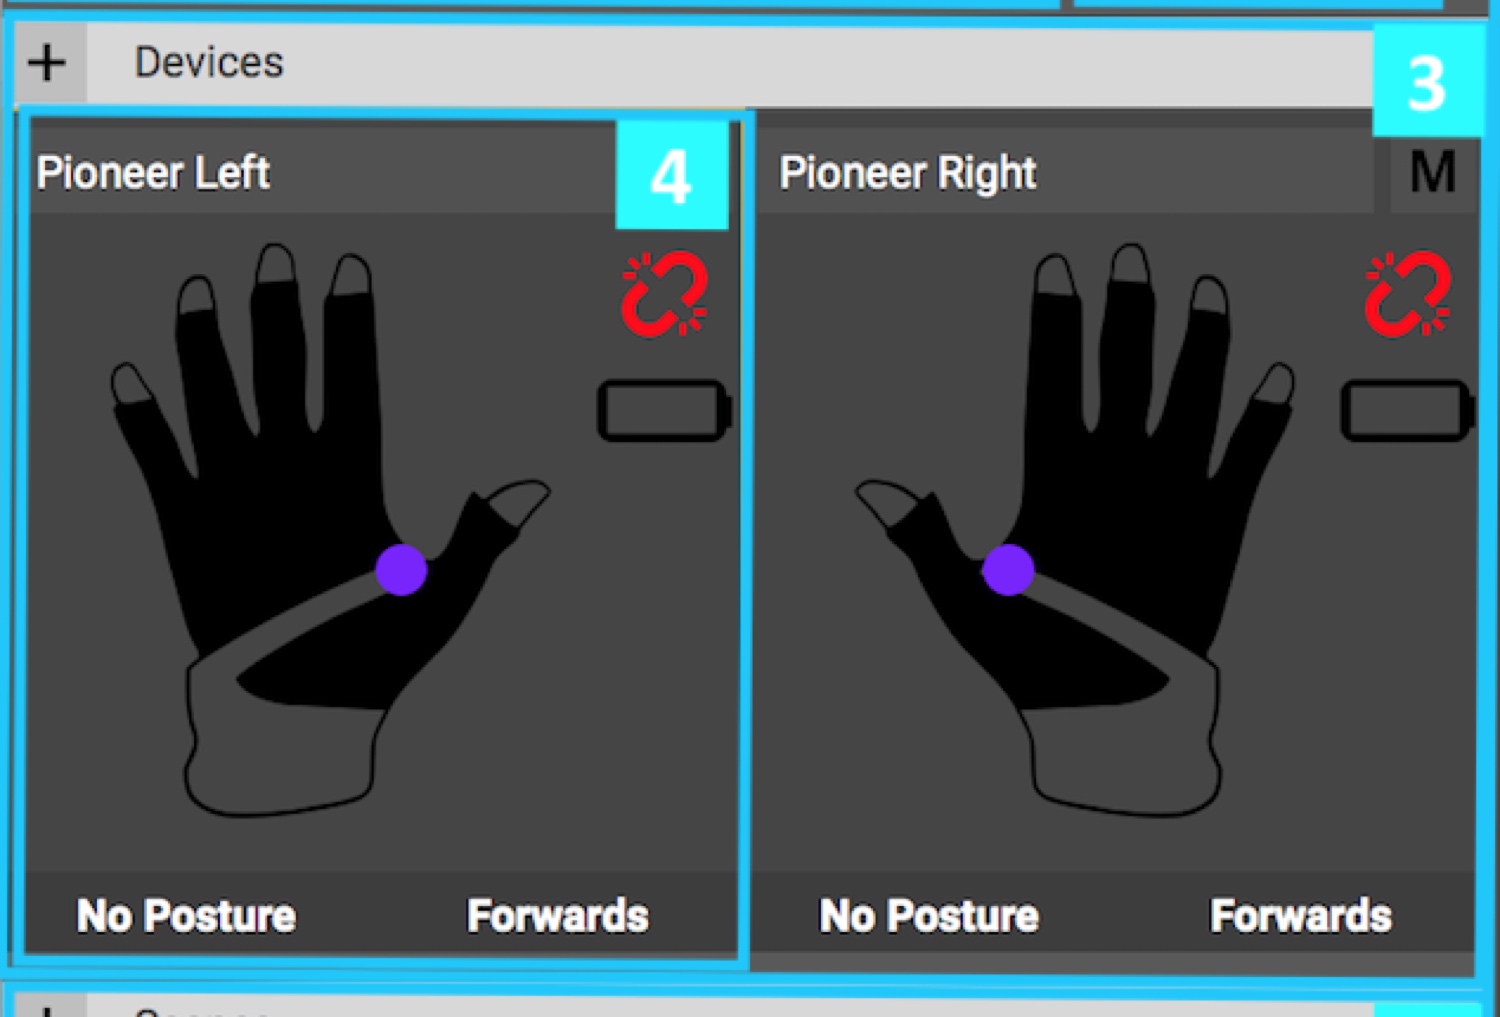
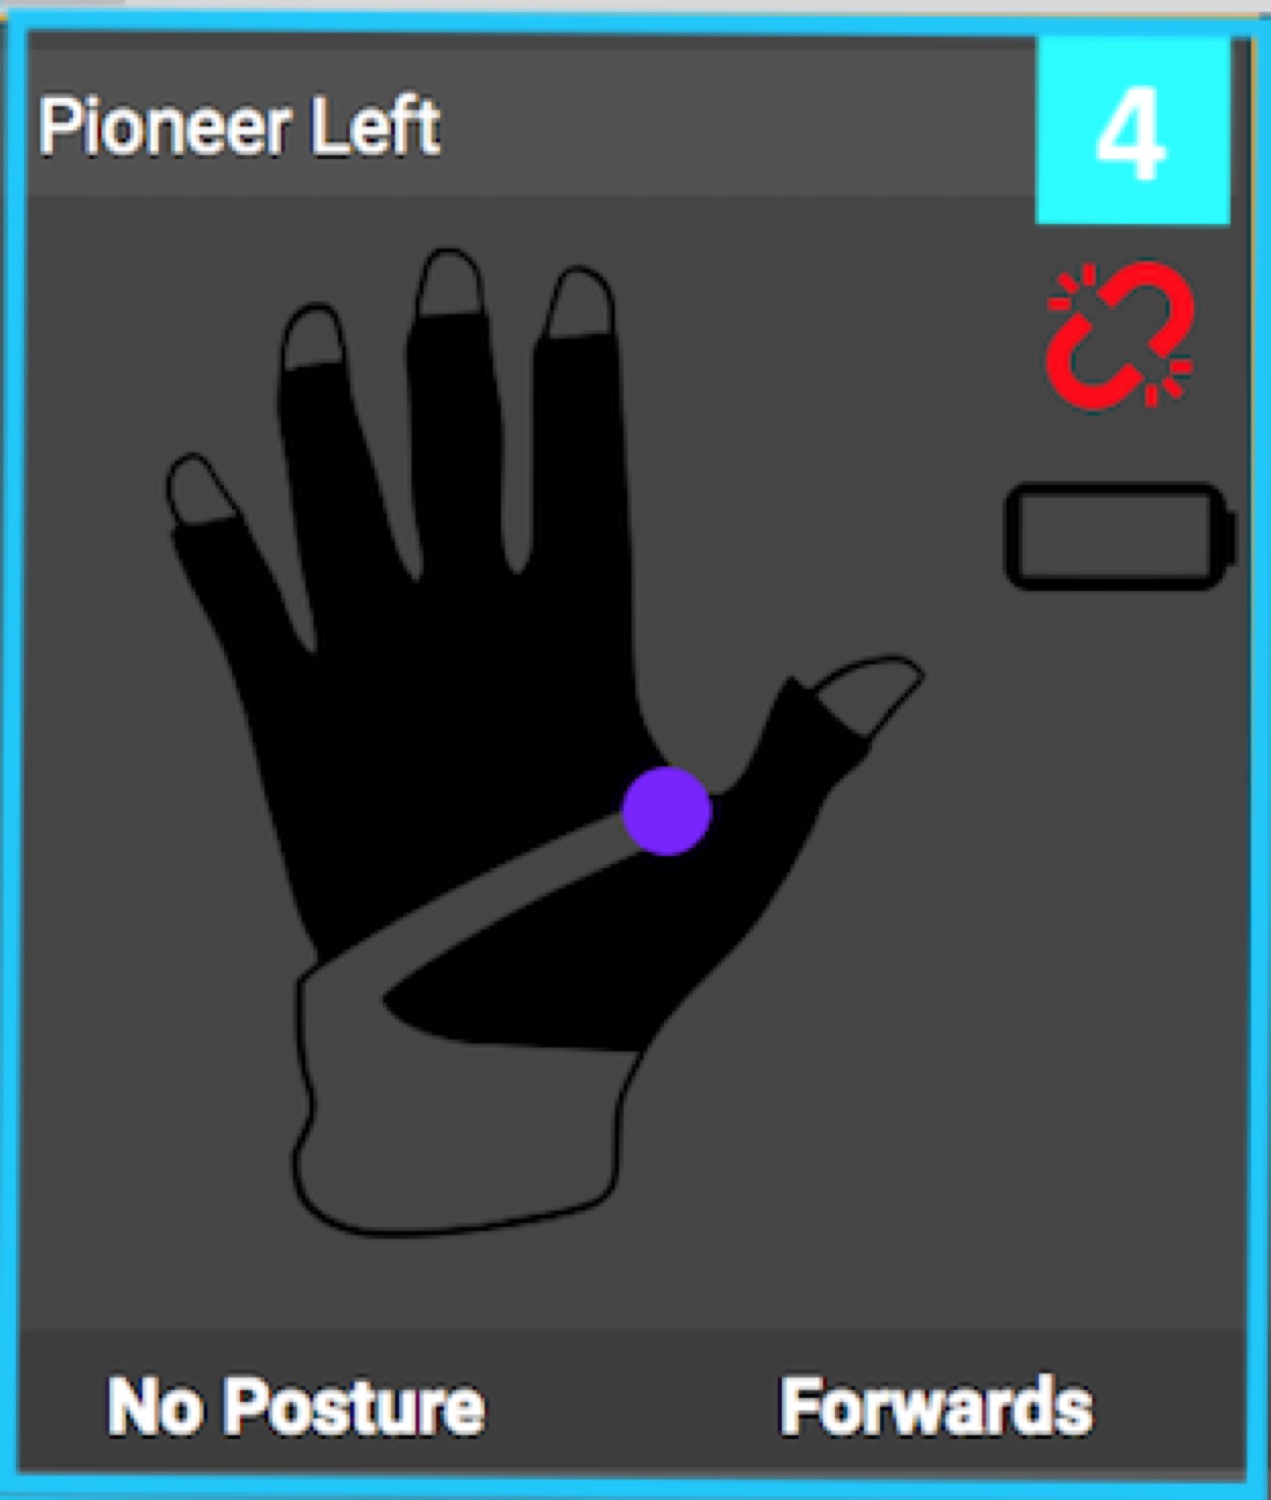
4 - Device
Click on an individual device to see more information about it. When you click on it, a panel for the device will
appear in section 8, the 'Inspector' (more details below).
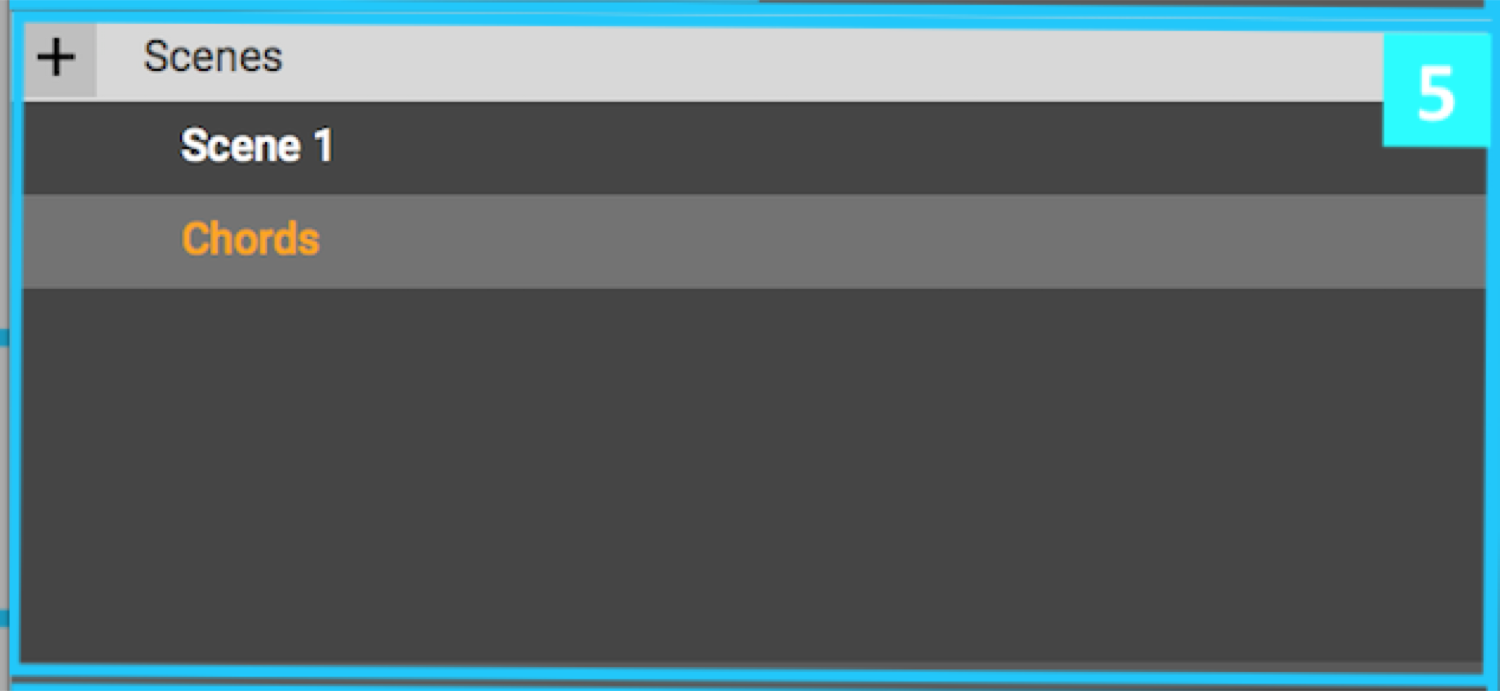
5 - Scene List Pane
You can add and see all your scenes here.
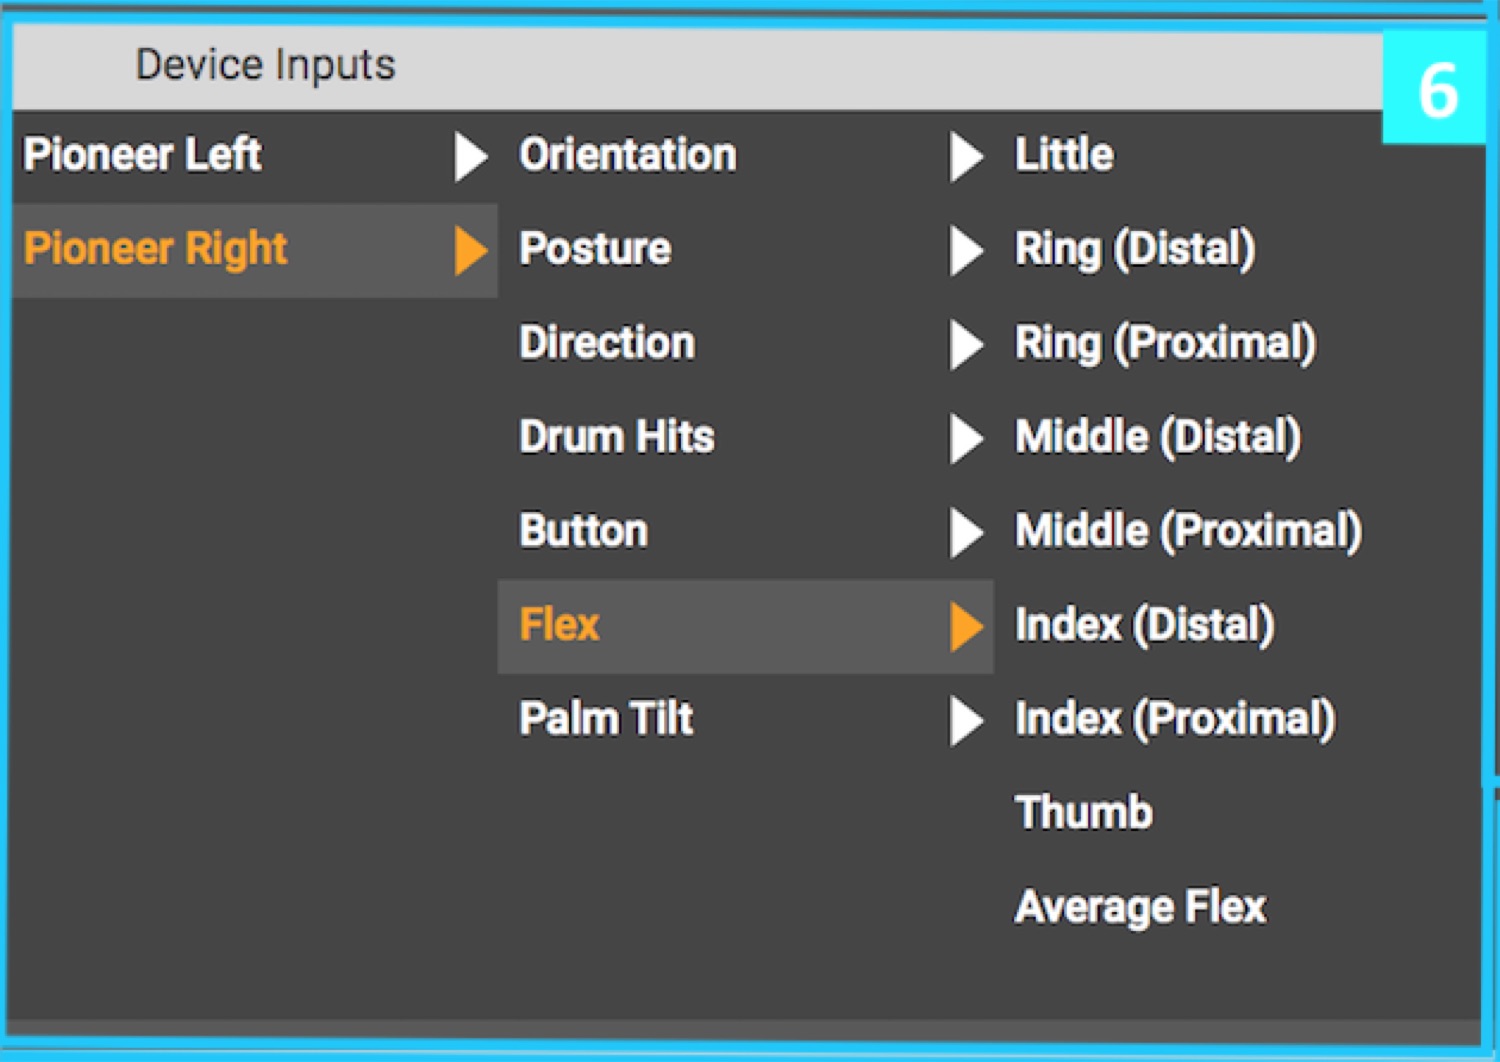
6 - Device Inputs Pane
All available inputs for each device are listed here in a series of hierarchical lists.
7 - Info Panel
This pane displays helpful information about anything you mouse over
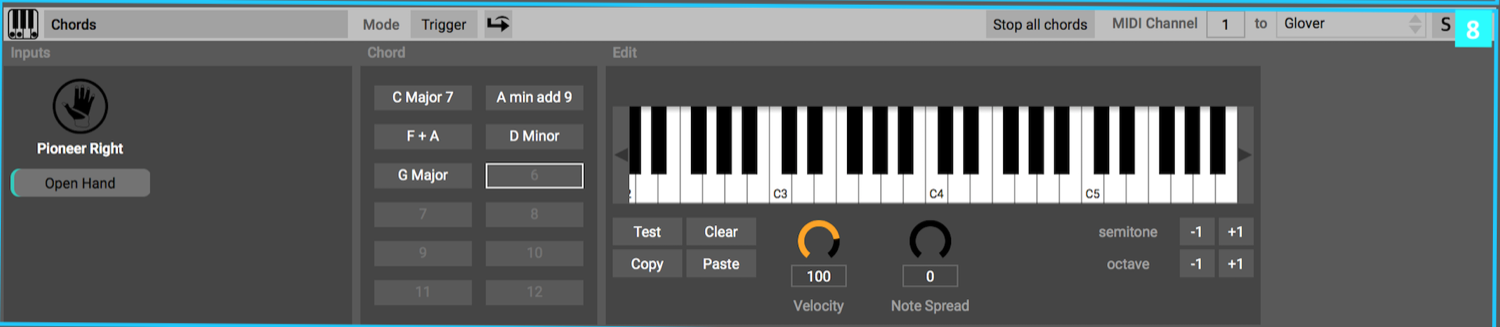
8 - Inspector Panel
The inspector shows details of other key items you click on in the rest of the software. Click on devices, mapping
inputs, mapping outputs, instruments and more and you will see more details, options and controls.
9 - Scene Panel
This panel displays the name of the current scene at the top and shows all mapping assignments and
instruments used in that scene.

3 - Devices Panel
Here you can see all your devices, their connection status, and other device information at a
glance.
4 - Device
Click on an individual device to see more information about it. When you click on it, a panel for the device will
appear in section 8, the 'Inspector' (more details below).
5 - Scene List Pane
You can add and see all your scenes here.
6 - Device Inputs Pane
All available inputs for each device are listed here in a series of hierarchical lists.
7 - Info Panel
This pane displays helpful information about anything you mouse over
8 - Inspector Panel
The inspector shows details of other key items you click on in the rest of the software. Click on devices, mapping
inputs, mapping outputs, instruments and more and you will see more details, options and controls.
9 - Scene Panel
This panel displays the name of the current scene at the top and shows all mapping assignments and
instruments used in that scene.